

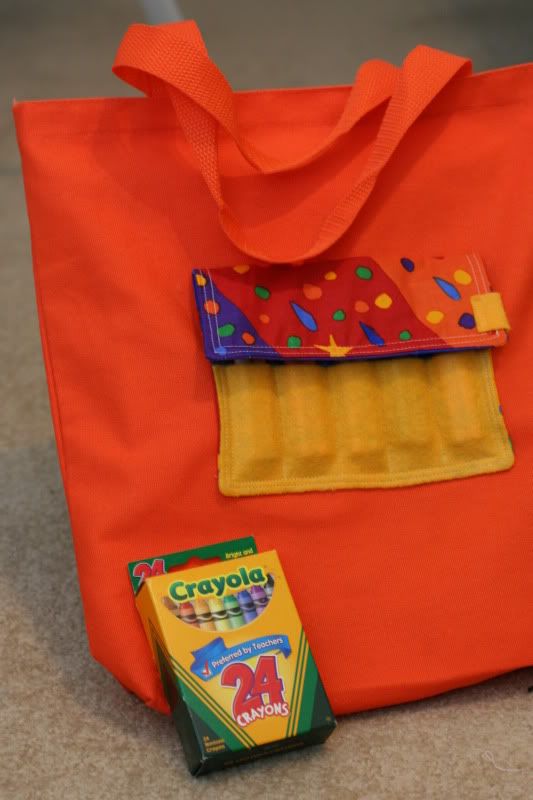
I grabbed the bag, some fabric that was accidentally shipped to me when I ordered the bunting fabric (thanks Three Rivers Fabric!), a piece of felt and my sewing machine and got to work adding a pouch to the bag that the crayons could be stored in.

in the photo, but in the end decided not to.
First, I made my cuts. For an actual crayon roll you'd need much longer pieces, but for my pouch I wanted to keep things small. I cut two pieces of fabric, measuring 8x7 inches each. My felt was even smaller, at just 3x7 inches. Lay the fabric pieces against each other with right sides in and place the felt between them, like so:

Once pinned in place I used my sewing machine to run a stitch almost all the way around the pieces, approximately 1/4 inch from the edge. You'll need to leave an opening a couple inches long at some point so that you can flip the piece right side out.

Flip right side out, then stitch the opening closed. I stitched directly on top (not trying to hide the stitch) and then continued all the way around. I even did a second run to make sure the seams were extra secure.

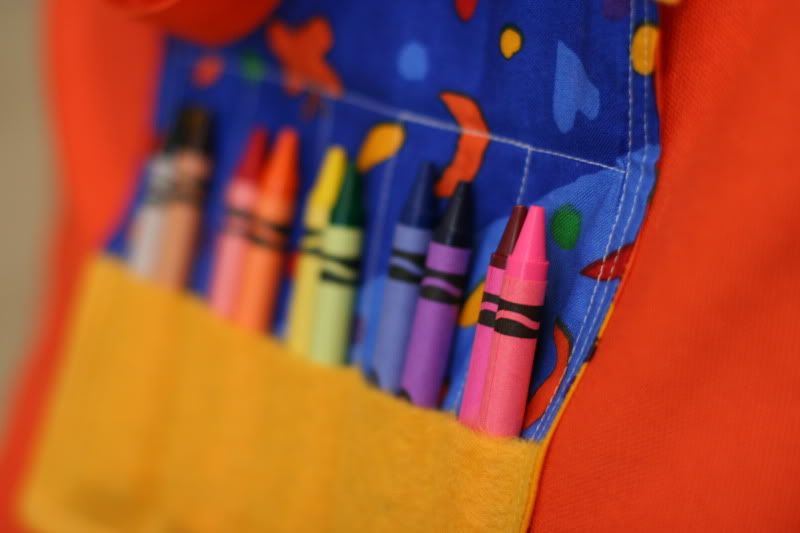
I wanted 10 crayons to fit in my pouch, two to each pocket, and so measured the felt between the stitching and divided by five. The result was 3cm per pocket, which would fit two crayons nice and snugly. I sewed up and down (shown below in black), to make the separate pockets. Make sure when you sew to go horizontally across on just fabric at the top, not felt, or you'll sew your pockets closed!

Now just use some iron-on hem tape (or fusible web if you have some, I didn't) to iron the pouch onto the canvas bag. You'll probably need to iron from the inside of the bag. If you try ironing from the outside you'll find that the felt is too thick to heat up enough for the hem tape to stick. I opted to iron it on only as tall as the crayons and let the rest of the fabric remain loose so it could be a protective flap.
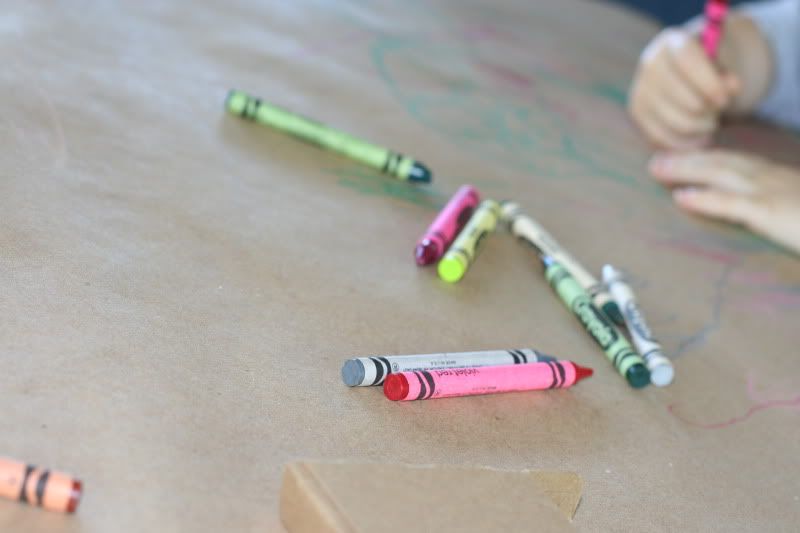
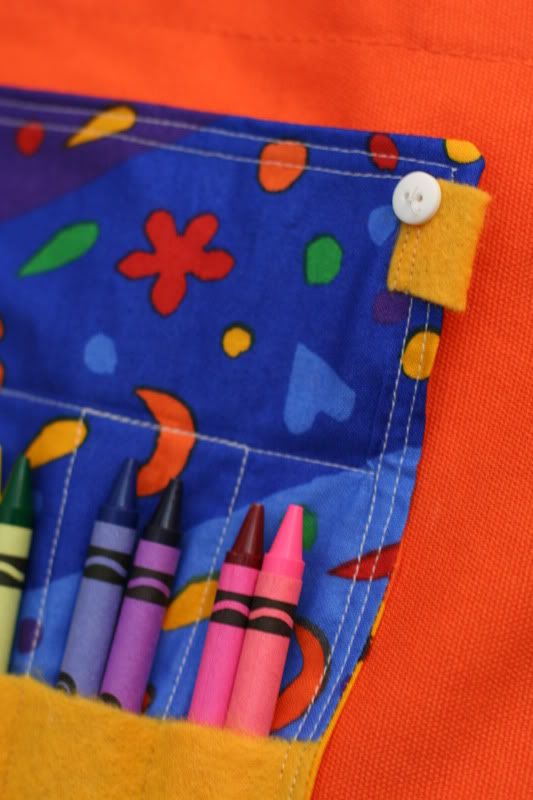
Add a couple embellishments, fill it with crayons and let your kid take it for a test drive!
 |  |
 |  |
Linked to:


4 comments:
Great idea and great post!
That "free" fabric looks good with the orange tote!
This is adorable! Now you just need to remember not to leave it in the hot car or the crayons will melt. :(
These are so fun! I need to make one of these for my daughter to keep her entertained at church! Thanks so much for linking up! :)
Very smart. Thank you.
Post a Comment