

Here's what you need:

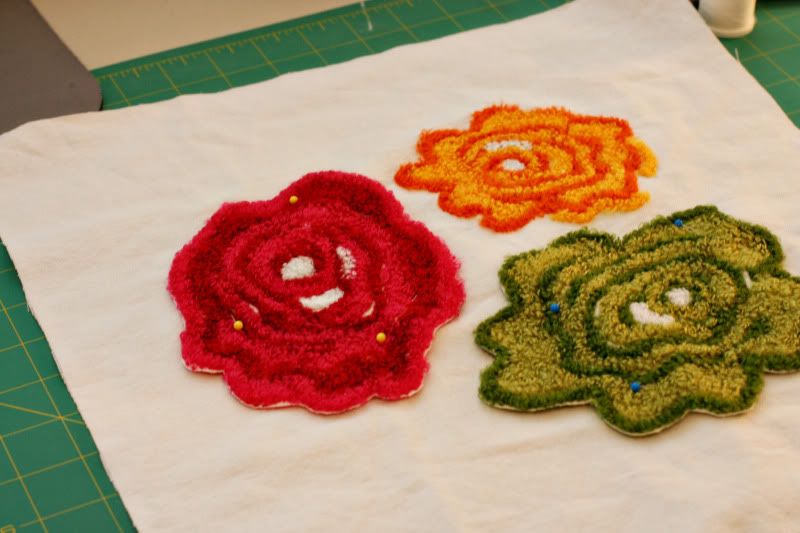
A piece of fabric cut to the size of your pillow form plus 3/4 inches for seam allowance (my form is 14x14, so I cut to 14 3/4 x 14 3/4) and an old pillowcase. I've also got a couple chenille flowers pictured. I didn't feel like my square of fabric had enough, so I handstitched a couple more onto it, using an overcast stitch (it's amazing what you can learn to do out there on the interwebs!!).
 | 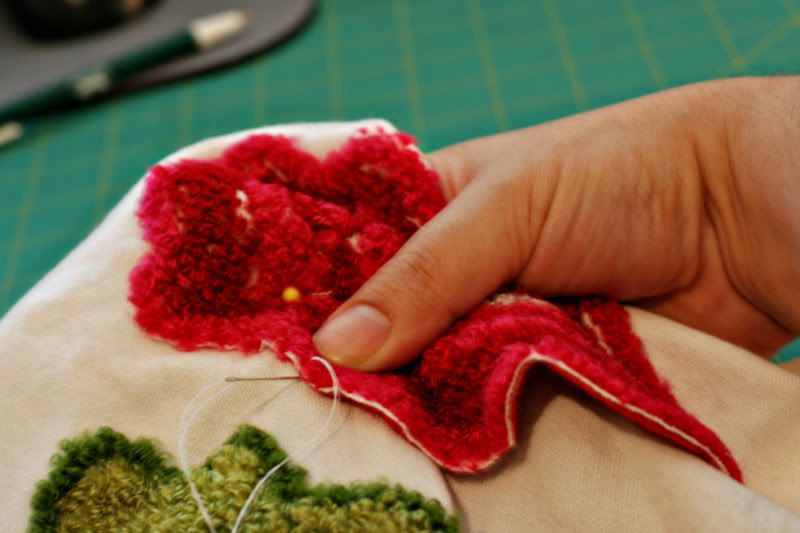 |
Sorry for the terrible photo of my overcasting! That's what happens when you only have two hands.
Once your pillow front is done you'll be ready to cut your back pieces. This is where a little math comes in. You'll need to add the width of your pillow front (14 3/4 inches for me) plus the amount you want your two pieces to overlap (I opted for 2 1/4 inches for the sake of easy math). Divide that number (17 in my example) by 2 to get the width of each piece (8 1/2 for my pillow).
Measure in from the edge of the cuff of your pillowcase by the number you just came up with and cut two pieces of the pillowcase to that width and to the height of your pillow front. Clear as mud, right?! Once cut, with right sides in, pin your back pieces to your pillow front. Make sure to keep the cuffs in the center.

At this point you'll want to make sure you like the amount of overlap you created between your two pieces of pillowcase. If you think it's too much overlap, you can trim some fabric off the non-cuff end of one or both of your pieces. If it's not enough, you'll need to cut a new piece from your pillowcase.
Then just stitch all the way around your pillow cover using a 3/8 inch seam allowance (yup, that read 3/8 inches, not 3/4 inches), followed by a zig zag to finish it off.

Trim the corners, flip the case inside out, stuff with your pillow form and she's done.
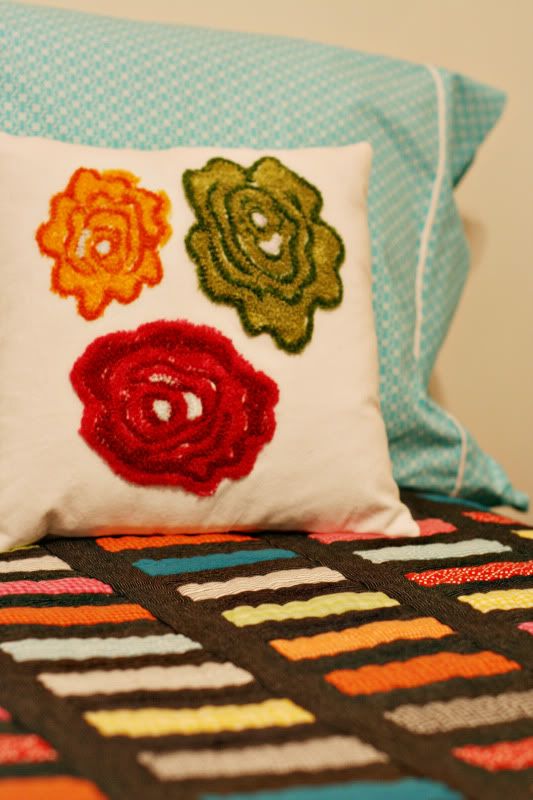 | 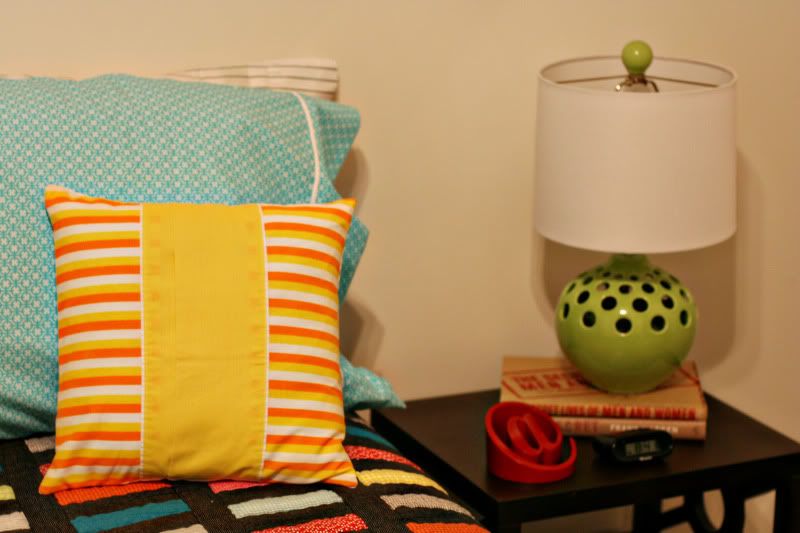 |
I love that the pillow can be flipped and displayed backwards for a whole new look! The backside of mine will be great come Halloween, right?!
P.S. I added 10 projects that I'd had bookmarked over at Potential Projects and a slew of new rooms to Droolworthy Decor.
2 comments:
Great pillow ~ good idea using the pillowcase hem for your envelope back.
I have that pillowcase! Might have to try this. It looks great!!
Post a Comment