Item #23 was to build something from scratch. I'll be honest and say that I'd originally envisioned myself building some piece of furniture as part of this to do. Nothing too difficult, but something fairly substantial. In the end I went for function over size and built myself a ledge. Yup, just a ledge. But it serves a great purpose for me. You see, when coming in our front door, immediately to your right, is a wall about six feet long (click here to get your bearings). It separates the living room from the kitchen and has a light switch and thermostat located on it. Basically it served very little function. And in a house with no coat closet, I needed some function. Enter my ledge.
I'll admit to being a bad blogger and let you know that I forgot to take a before photo. I know, shame on me. But I did spend hours working up this rendition of what the space previously looked like:
Yup, a blank white wall. Now that you know where I started, I can show you where we're at now. With just a few dollars in wood, some hooks and a little elbow grease, here's my ledge:
 | 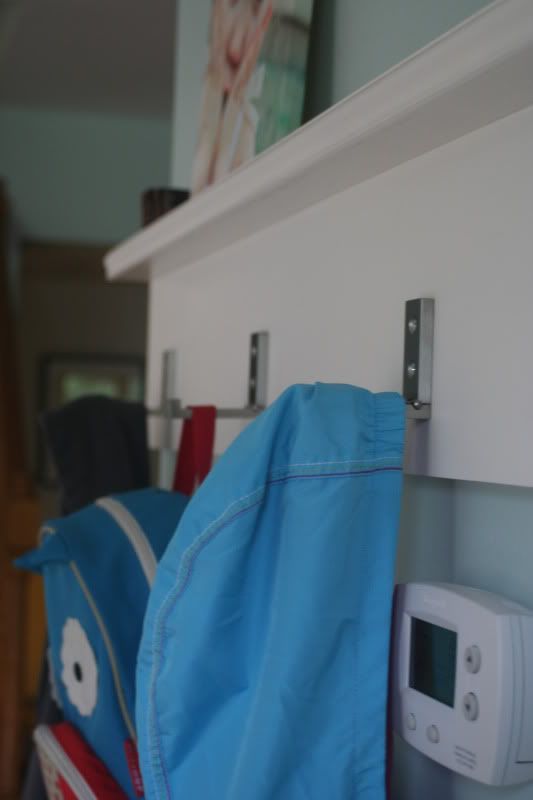 |
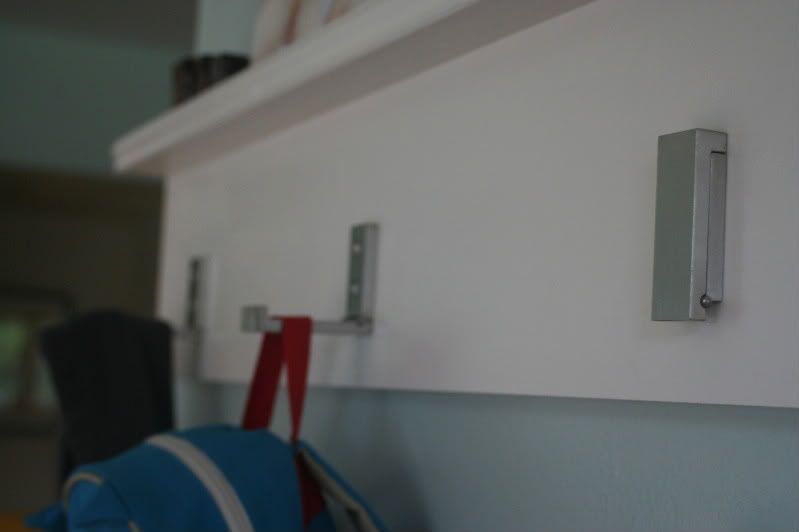
Impressive right?! Ok, so no DIY show is going to beg me to come work for them, but my neighbor, who has the same layout as me, did ask where she could get one. And that made me smile. Our door opens up to just before the thermostat, so typically the first three hooks are the only ones we use, but there are extra there for guests. For anyone who is interested in the details, here's a little diagram for you:

The piece of wood that lies flat against the wall is a 1x8 and the actual ledge coming out from the wall is a 1x3. The two were screwed together and then screwed to the studs. Well, I actually screwed the 1x8 to the wall and then screwed the 1x3 to it, but if you decide to take on this project you should definitely attach the pieces to each other first, then to the wall. I promise. The tiny trim piece at the edge of the ledge is called a top cap. I like the look of it and also that it keeps anything sitting on the ledge from sliding off since it creates a lip. The top cap was put on with finish nails and then everything was caulked and painted. A few Ikea hooks went up (love that they fold up when not in use) and it was done!
 | 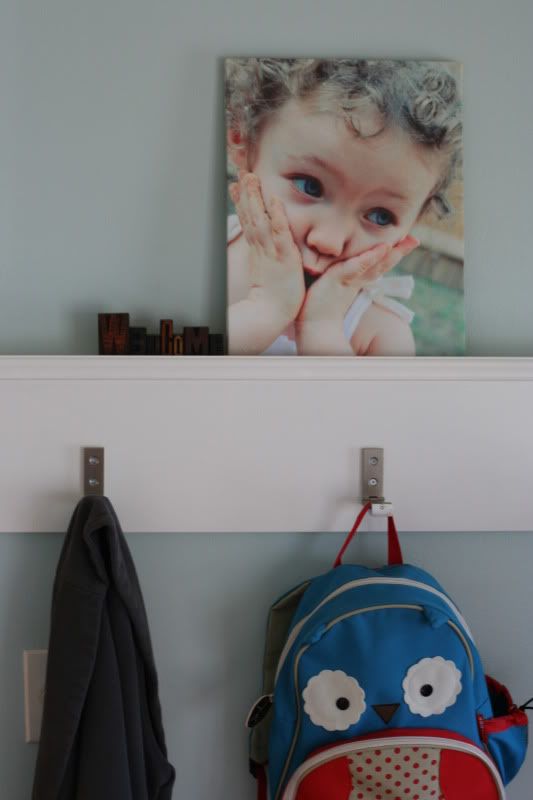 |
P.S. The canvas of Charlotte came from Canvas People during one of their pay only shipping deals. The letterpress stamps (which spell out welcome) are from Etsy seller Vintage Marvels. And the owl backpack is made by Skip Hop.
Love it! Anything that adds interest and function is a huge deal. Very impressive!
ReplyDeleteIt turned out wonderfully. I thought you bought it also and was admiring it during the party. :-) I really like the top cap idea, cause it's so easy for things to slip off if you don't have one, especially when the door is opened and closed often, which makes the wall vibrate.
ReplyDeleteLove this idea! I have never done any woodwork but I am tempted to try this one. Thanks for sharing!
ReplyDeleteHow did you cover/hide the screws after installing? Finish nails are easy to hide... But screws present a challenge.
ReplyDelete