


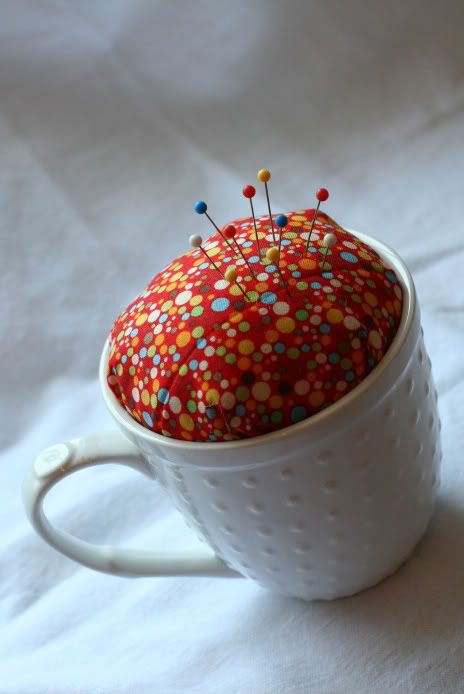
Grab your own old mug or teacup (a teacup may actually work better since it's a little smaller), a scrap of fabric, some batting and a glue gun and you can make your own pincushion too. Here's how:
Start by cutting a circle from your fabric that is 2-3 times the diameter of your mug. The circle doesn't need to be perfect, just generally circle shaped. Then do a basic running stitch around the edge of your circle, about 1/4 inch in.

Next, pull the ends of your running stitch together to create a little sack.

Stuff your sack with some batting. Make sure to use lots of small bits of batting as opposed to a one big piece - the smaller the pieces the less lumpy the result will be. Knot it off and fluff to get a good domed shape.

Now you'll need to run a line of hot glue around the inside of your mug. Put the glue high enough so that it'll touch your fabric puff, but low enough so that none of the glue shows.

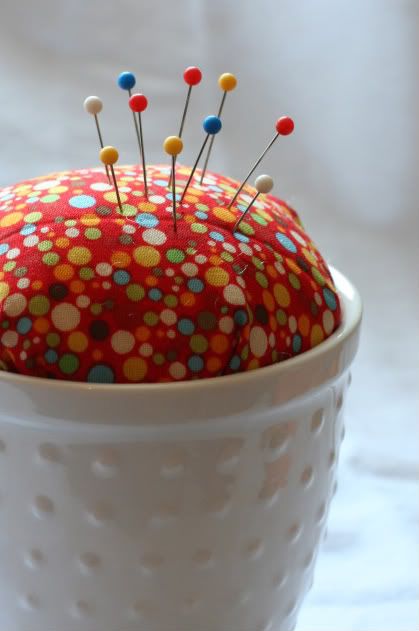
Then push your puff into place, add some pins and call it done!
 |  |
3 comments:
Very cute pincushion.
I love that mug! It has a little thumb rest on the handle. I like that fabric a lot too!!
actually, did you know that batting/poly stuffing dulls your needles? We always filled ours with sand - or my grandma did anyway!
I have an adorable one that looks like a chicken. :)
Your pin cushion turned out so cute! I love the polka dots on the mug.
Post a Comment