


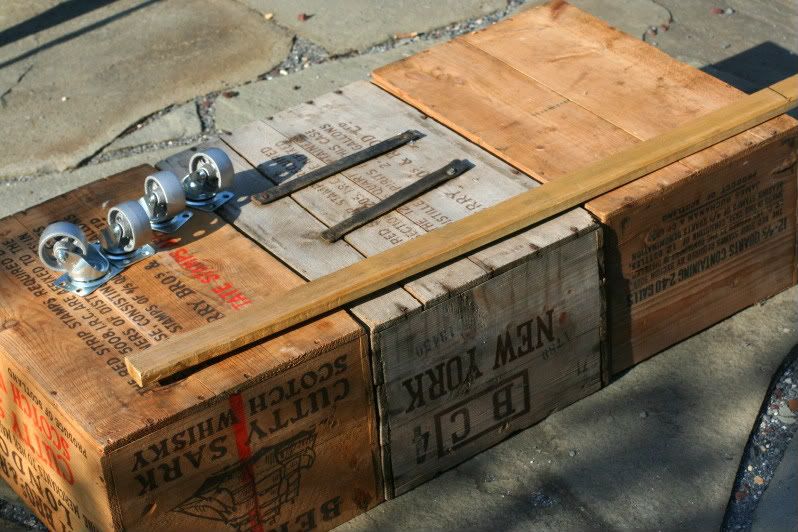
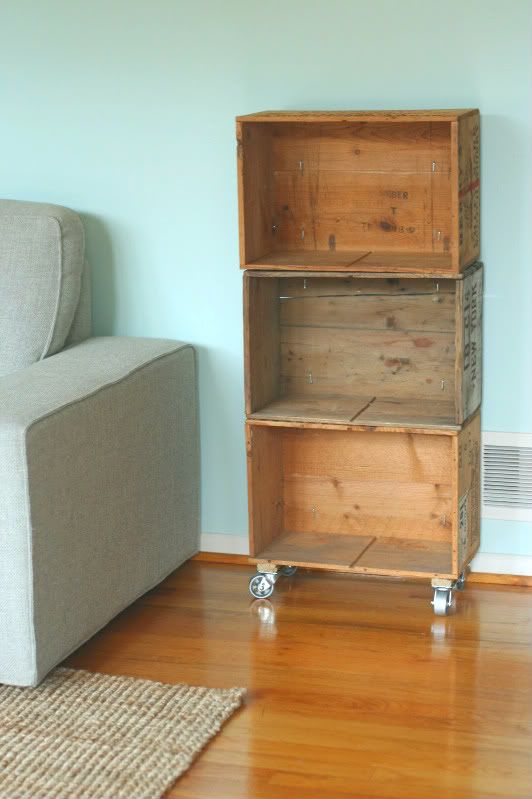
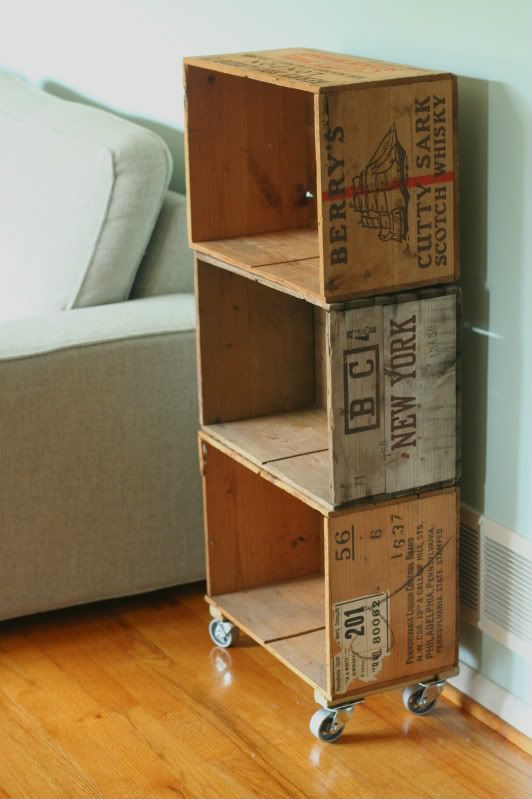
Old wooden crates are popping up everywhere lately, and I was particularly smitten with the idea of using crates as a bookcase, like the one pictured above. I love that it's a little weathered and beat up looking (perfect for a house with a toddler) and that being on casters makes it super-mobile. So I hunted down three similarly sized crates (two from an antique store in my area, the other from ebay) and hit up Home Depot for some supplies.

I grabbed a long, thin strip of wood. I have no idea what it was called, or what it was meant for (I seem to recall it saying threshold on the tag), but I liked the color and imperfections it had. And the price (less than $2) was right up my alley. That piece, plus four casters, was all I needed for this little project. I took everything outside and began to formulate a plan. It was important to me that the bookshelf be able to be disassembled pretty easily. What can I say? I'm fickle and wanted to make sure I could use them as actual crates, or mount them on the wall, or chop them up for firewood (ok, not really) if I felt so inclined. I figured it'd be best to use two strips of wood along the backside of the crates as a way of "attaching" them to each other. In reality, they're only attached to the wood strips. So I eyeballed how long the strips should be, marked the wood and got to cutting.
 |  |
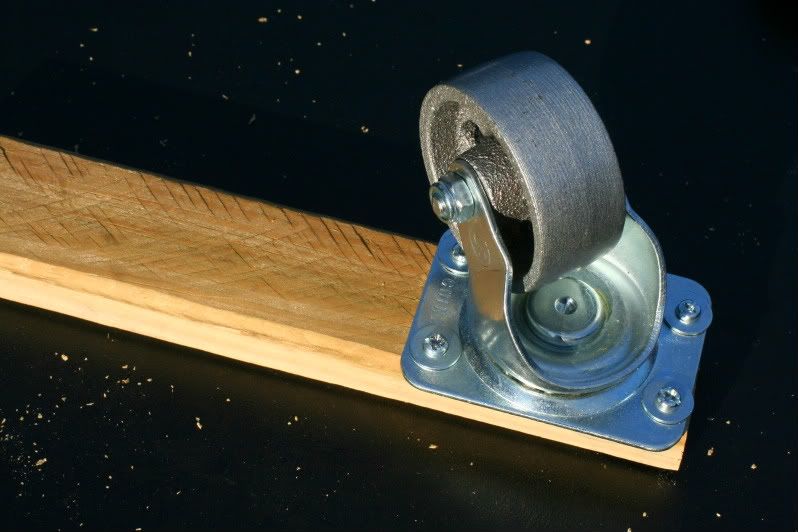
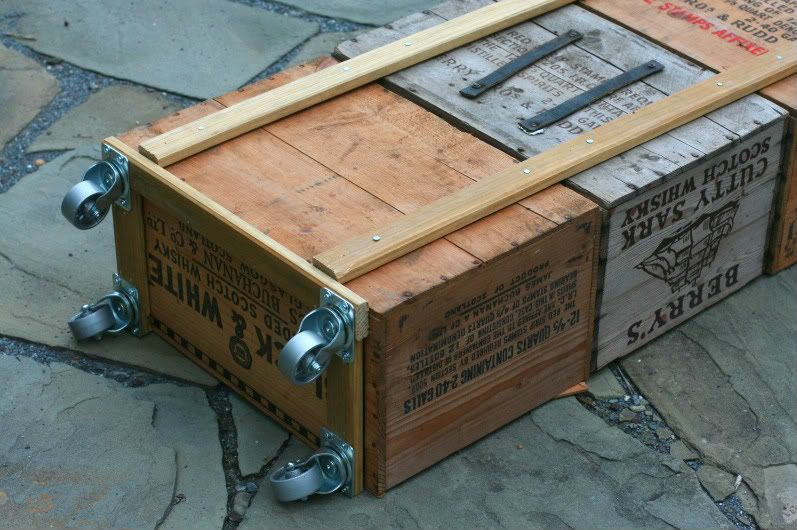
I also cut three shorter pieces of wood (not pictured) to attach to the base of the bottom crate, with my plan being to attach the casters to those pieces rather than the crate itself. I used screws and washers to attach the casters and then nails to attach the wood pieces to the crate.
 |  |
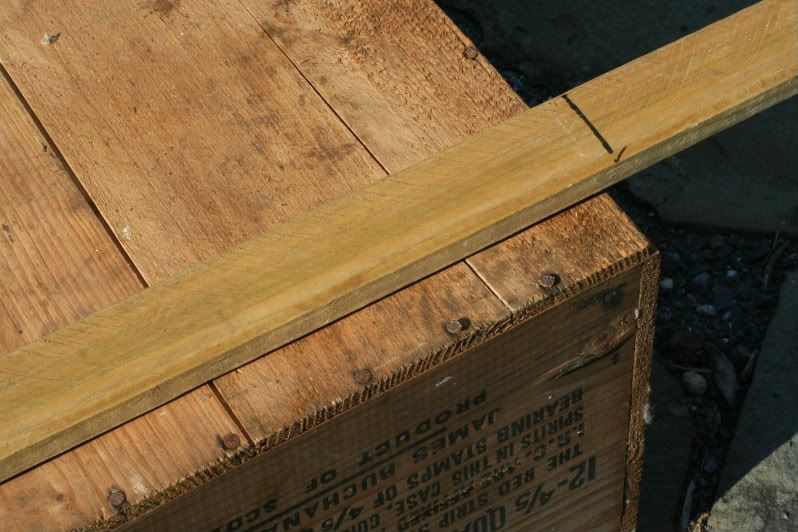
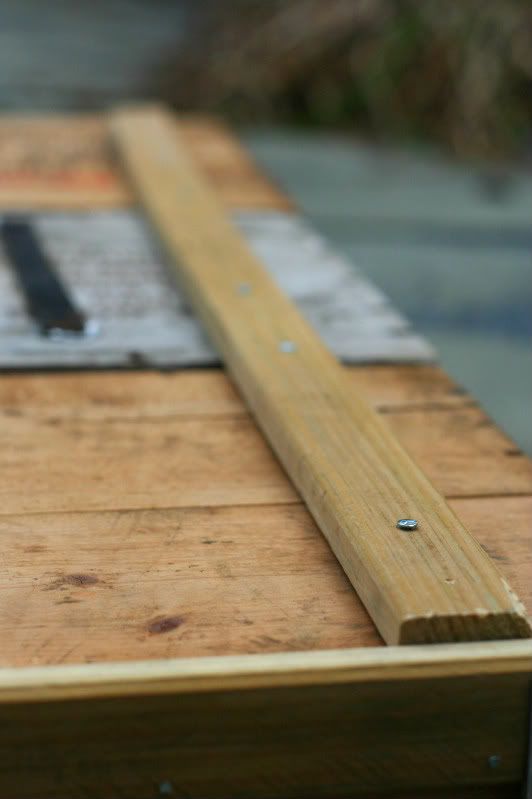
With the casters on and ready to go, it was time to attach the wood strips to the back of the crates. For this step I predrilled pilot holes through the wood strip and the crate and then drove extra long nails through the holes from the back. I was left with about an inch of the nail poking through to the front side of the bookcase, which I bent down with my hammer. I thought about using shorter nails, but everything I tried felt a bit unsecure, and I figured the bent nails only added to the beat-up, rustic charm. Right?!

 |  |
And with that, it was done. I carted it inside and set it up in the living room. I haven't put it to use yet, but I'm loving the look of it in the space.
 |  |

Have you pinned any other ideas using crates? Here's a few more I like: toy bins, on the wall, as planters, bathroom storage, more on the wall.
3 comments:
These look great! Can't wait to see what you fill them with.
That looks awesome! I love the weathered look of it.
This makes me laugh. I have a bookcase made of wine crates in my office. It's been here since 1997. Why? Because I worked for liquor store company and I thought they were cool and well, I was just out of college and paying my mortgage + bills didn't leave much money for furniture. The crates were free - they tossed out hundreds a day. So I loaded up my truck one day and they've been here every since. Of course they aren't on casters and they aren't even attached to each other, just stacked (but I don't have kids that might pull them over). Funny how this stuff comes up!
Post a Comment