While I'm on a roll talking about delicious desserts (learn about our evening making s'mores here), I figured I'd share about another dessert I made recently. I'm no baker. In fact, I hate baking almost as much as I hate cooking. That's why my favorite recipes are super simple ones that either involve no mixing (blueberry dump cake) or no baking (eclair cake). This one is no different, but tastes like it was slaved over. Here's what you do:
You only need four ingredients: apples, yellow cake mix, cinnamon and butter. Begin by slicing four apples suitable for baking (I used McIntosh) into fairly thin slices. Or wedges. Or a mixture of both. Whatever you prefer.
Layer half your apples in the bottom of a greased 9x13 pan and sprinkle with some cinnamon. Repeat with another layer of apples and more cinnamon. Now, I didn't measure how much cinnamon I used, but I think you can see from the photo that I didn't skimp, using a bunch on the layer in the photo and an equal amount in the next layer. That said, I could barely taste the cinnamon in the end product, so feel free to be even more heavy-handed with your application of it.
Then sprinkle about 3/4 of your yellow cake mix over the top layer of apples. You don't need to cover every little bit, just try to spread it as evenly as you can. The remaining cake mix won't be used in this recipe, so either pitch it out or save it to use in another recipe (perhaps a single serving of this or another type of dump cake).
Next up, grab two sticks of butter (that's 1 cup for those of you that use full sticks) and get to slicing. Just section each stick off into small pats. Generally speaking, I end up with 16 pats per slice, which ends up being a perfect amount for the next step in the process.
Lay those pats right on top of the cake mix, trying to space them pretty evenly. The idea is that as you bake this (45 minutes at 350 degrees), the butter will melt into the cake mix and crisp it up while the apples soften a bit and you end up with a delicious cobbler type treat. I suggest checking the progress at about 30 minutes in to see if you have any dry spots of cake mix (I did and added just a few more pats of butter) and then take it out when it's started to turn a nice golden brown.
Mmmmm... warm, apple-y deliciousness!! I assure you, it smells great and tastes awesome. And looks like you slaved over it, which is always a plus. And there are a million variations you could make of this - pear, plum, peach. All would be good. I regularly make blueberry dump cake using blueberry pie filling. A word for the wise though, if you use pie filling you'll need to add another layer of ingredient. The fresh fruit gives off a lot of water, which helps moisten the cake mix. The pie filling doesn't. So add a can of crushed pineapple (drained) between the pie filling and cake mix. You could also opt to use chunky applesauce. And, feel free to chop a cup or so of walnuts (or pecans, whatever) to go between the cake mix and butter. I always include that when I make the blueberry version.
No matter what mix of ingredients you go with, you can't go wrong by serving yourself a generous helping of it fresh out of the oven with some ice cream. Although I will say, if you go with the blueberry-pineapple-walnut mix, also try it after it's been refrigerated. So refreshing!!
Showing posts with label Recipes. Show all posts
Showing posts with label Recipes. Show all posts
Wednesday, August 22, 2012
Tuesday, June 12, 2012
When Life Hands You Lemons
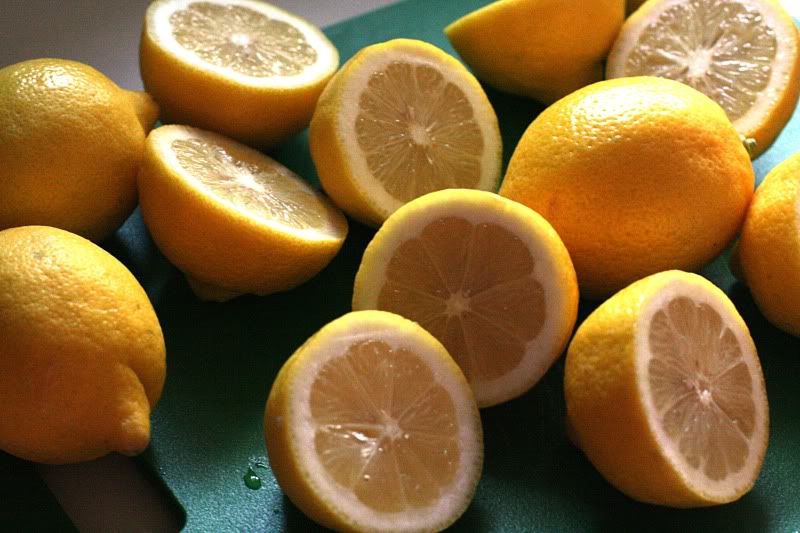
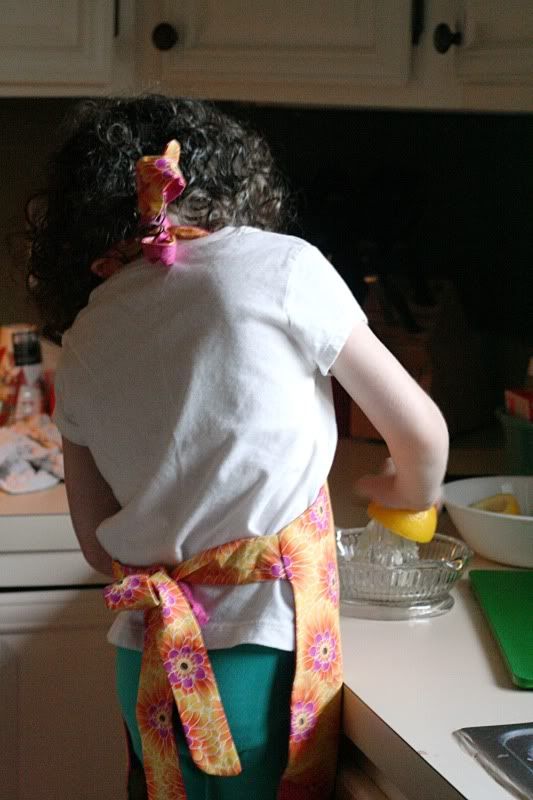
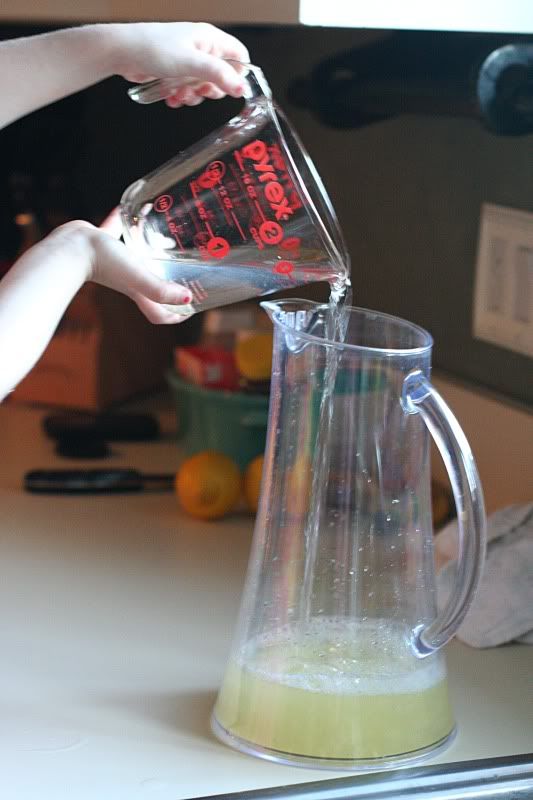
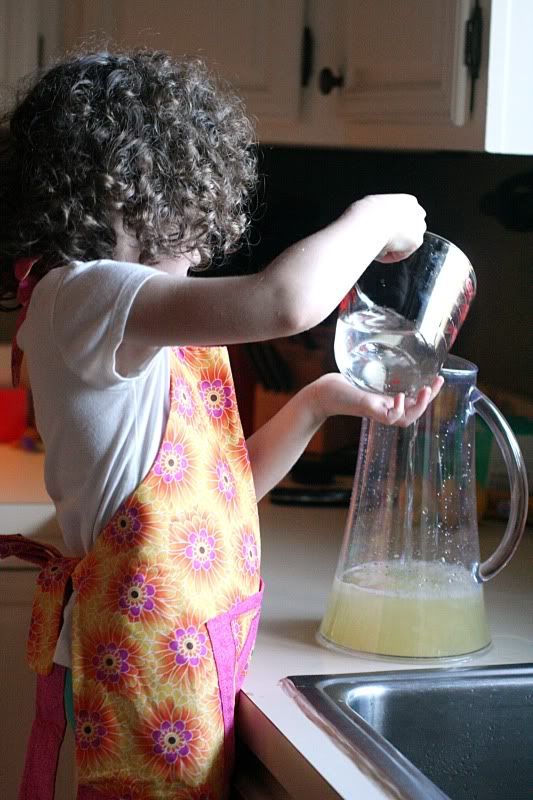
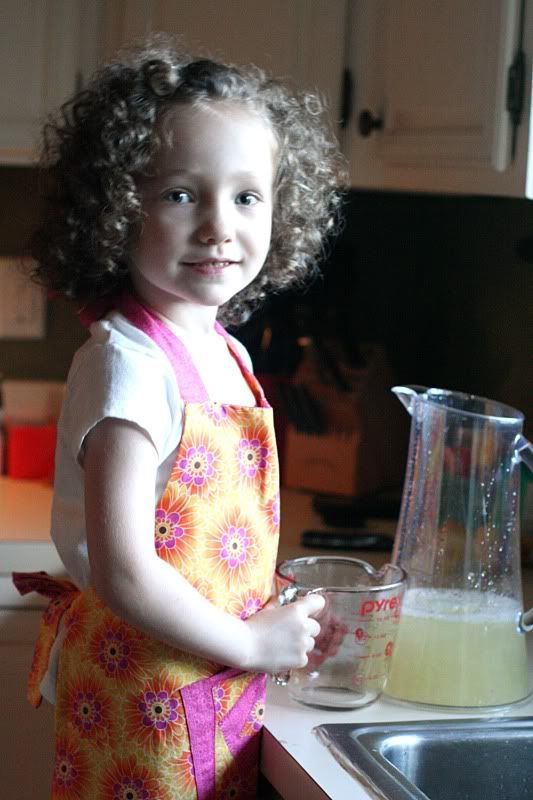
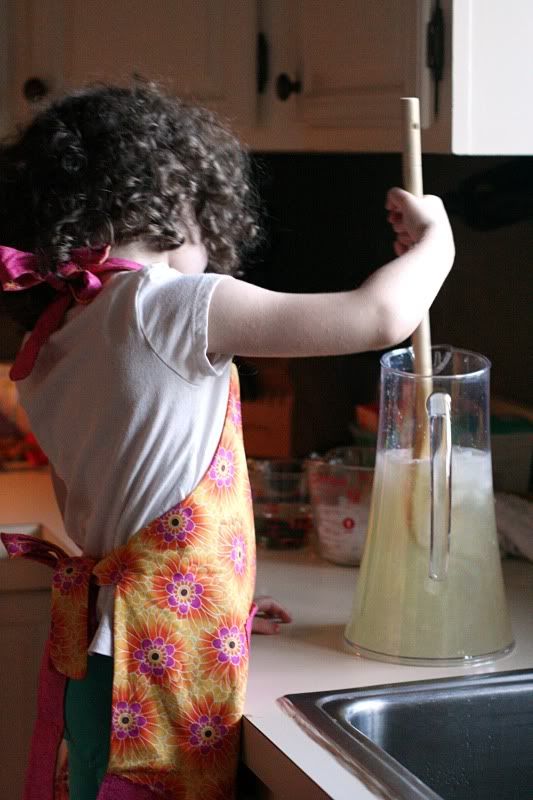
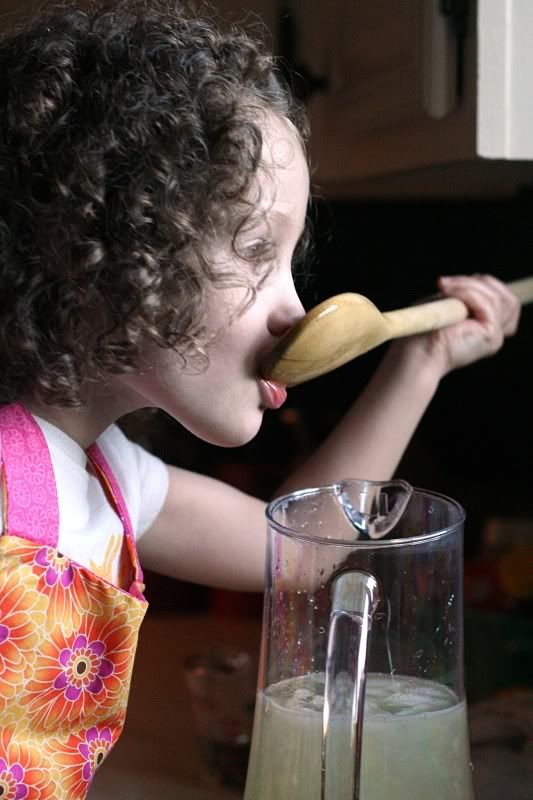
Life hasn't been handing us lemons lately (it's actually been pretty peachy - haha), but we did make lemonade recently. I was making a grocery list the other day and asked Charlotte if there was anything she wanted to add to it. I didn't expect her answer to be lemons. But with her Nana headed our way, I figured it was the perfect time to indulge Charlotte's wishes (if you count a whopping $5.60 spent indulging) and pick up some lemons to make lemonade.
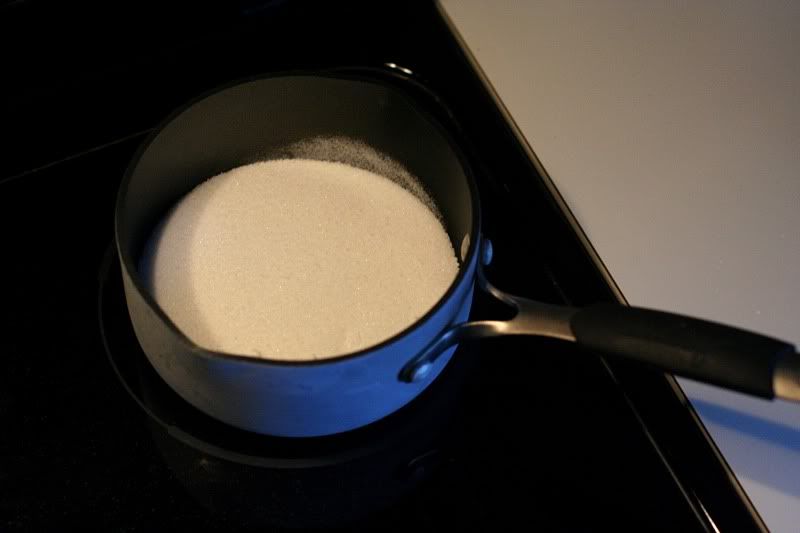
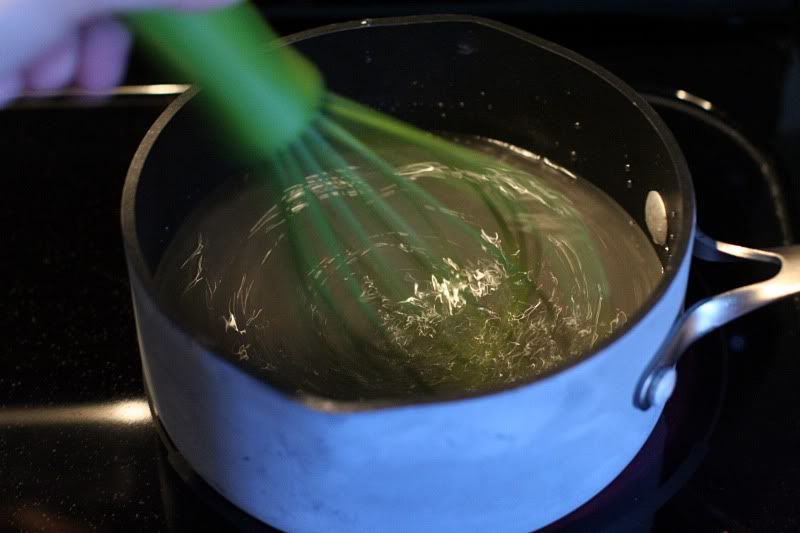
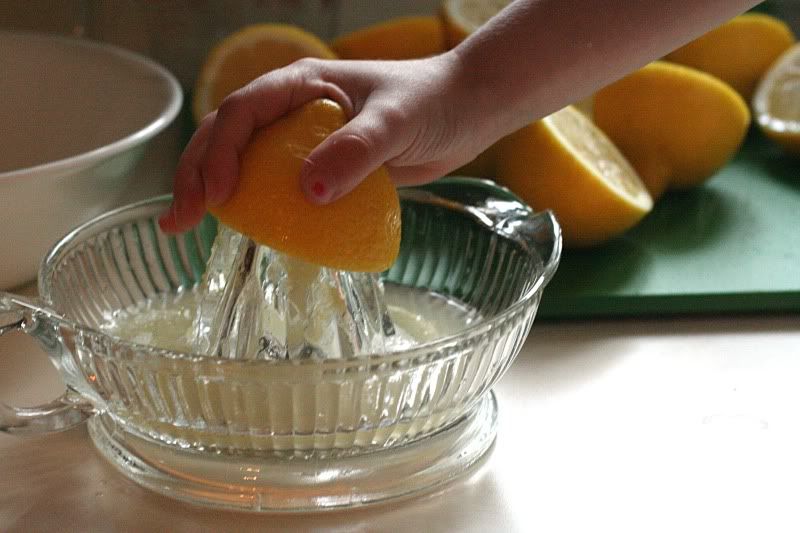
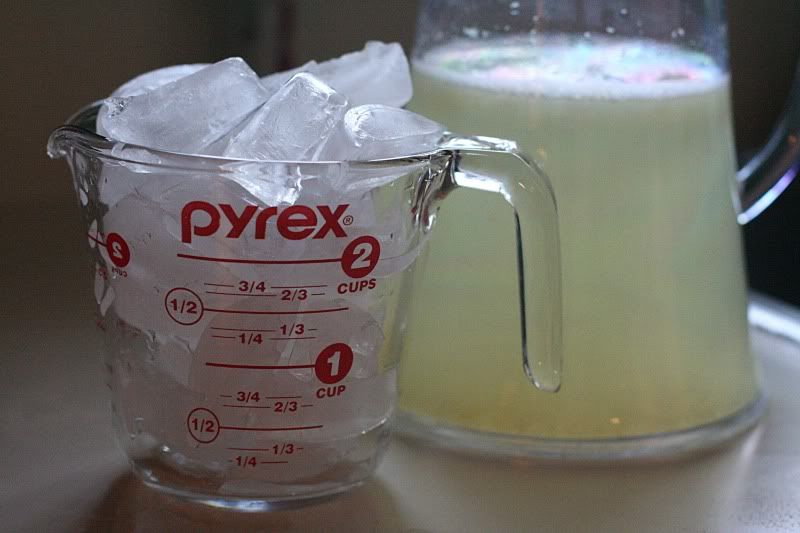
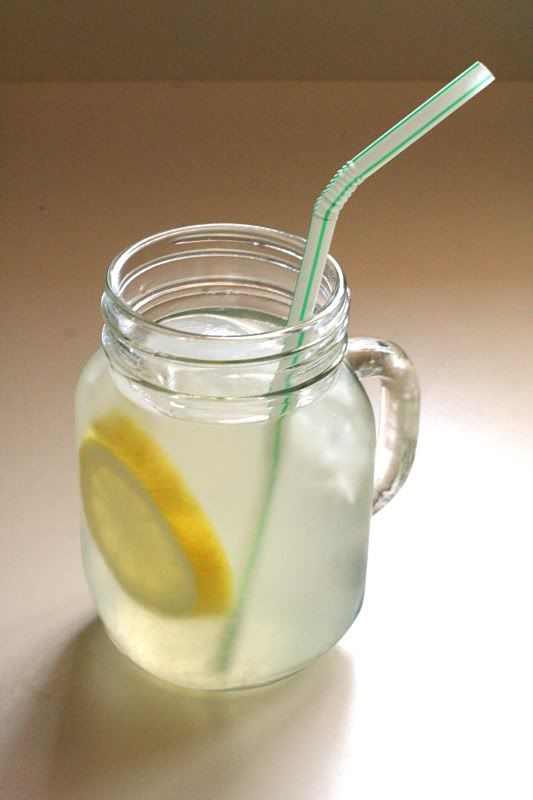
You can find great recipes all over the web, but the one Charlotte and I used most closely resembles this one, from the Anne of Green Gables Cookbook. We skipped the lemon zest part, and just made a simple syrup with 1 cup of sugar and 1 cup of water, which we later combined with 1 cup of freshly squeezed lemon juice and enough water to fill our pitcher. It was delicious! And we had a great time to boot!!
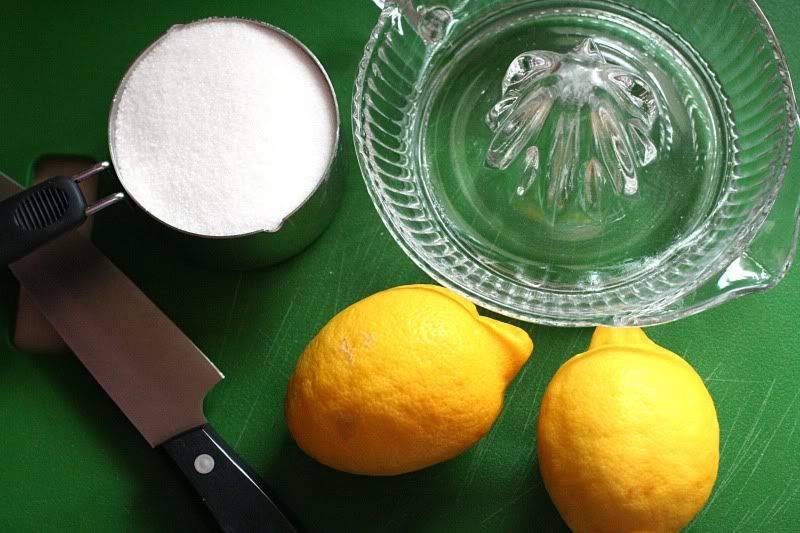
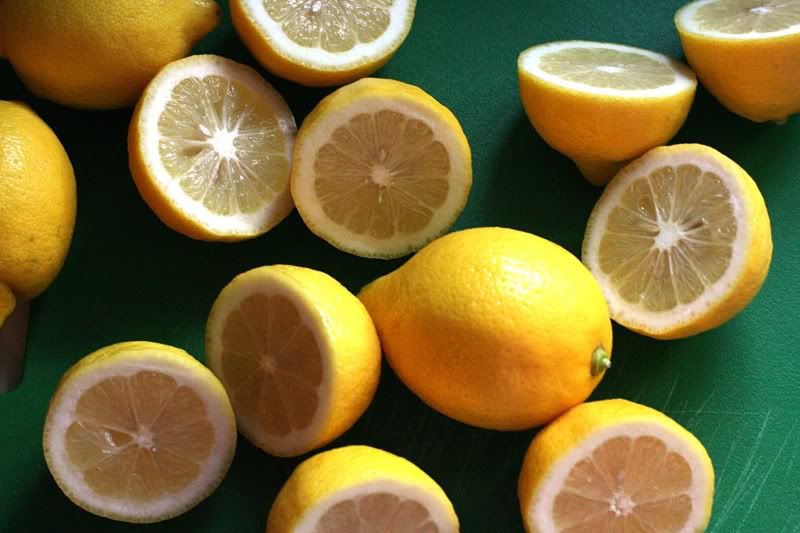
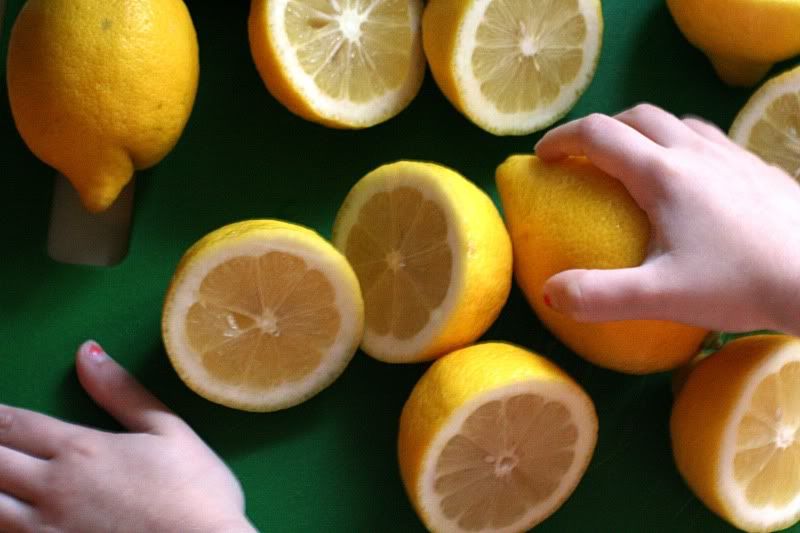
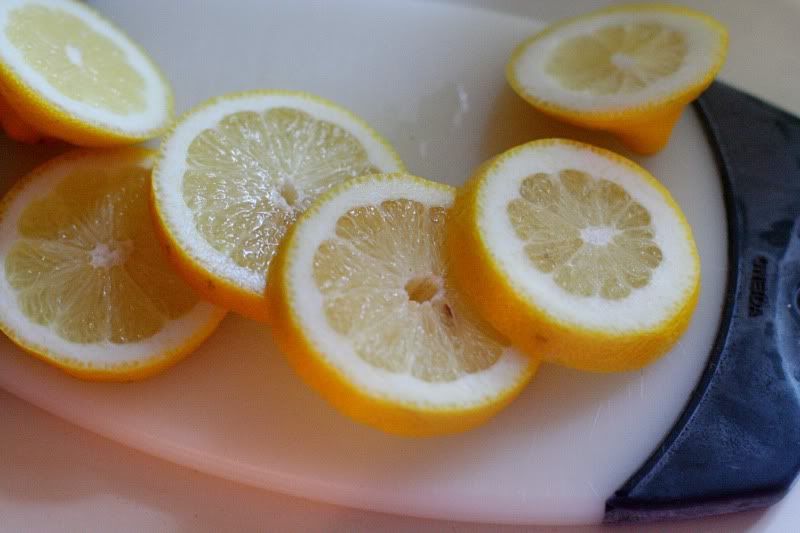
You can find great recipes all over the web, but the one Charlotte and I used most closely resembles this one, from the Anne of Green Gables Cookbook. We skipped the lemon zest part, and just made a simple syrup with 1 cup of sugar and 1 cup of water, which we later combined with 1 cup of freshly squeezed lemon juice and enough water to fill our pitcher. It was delicious! And we had a great time to boot!!

 |  |

 |  |

 |  |
 |  |  |
 |  |

 |  |
Monday, February 21, 2011
This Week's Menu {Feb 21}
Wahoo! Another week where things went exactly as planned. Here's hoping we can keep it up this week.
Monday - Stuffed Chicken Breasts
Tuesday - McDonald's (it's my niece's birthday, so she picks)
Wednesday - Tuna Casserole
Thursday - Leftovers
Friday - Ham & Cheese Sandwiches
Saturday - Meatloaf
And with several weeks of regular meal planning under my belt, I'm officially making my first cross-out on my 30 Before Thirty list. A sad start given that I've only got 8 months to go, but "make dessert more often" will be crossed off the list soon too. Lately we've snacked on cookies and banana bread, and this week the plan is to make the following berry cobbler recipe, inspired by the delicious version I had at Disney's Artist Point a couple years ago.
3 cups all-purpose flour
1/4 tbsp. salt
2 1/2 tbsp. baking powder
1 1/8 cups granulated sugar
1/2 cup unsalted butter
2 eggs
1 cup heavy cream
2 cups blueberries or other seasonal berries
8 tbsp. brown sugar
8 tbsp. unsalted butter
Whipped cream or ice cream (topping)
Combine the flour, salt, baking powder and sugar. Then break the butter apart into small pieces and mix it in. Next, add the eggs and stir until just absorbed. Then add the heavy cream and mix just enough to incorporate (batter should be lumpy). Divide the dough into four pieces.
Now, in four 6-inch cake pans lined with parchment paper, place the pieces of dough, spread evenly along bottom of the pans. Spread the blueberries on top of each piece. Sprinkle each with 2 tablespoons brown sugar. Dot each with 1 tablespoon butter.
Bake in a preheated 350ºF oven for 15 minutes, or until an inserted toothpick comes out clean and dry and the cobblers are lightly browned. Cool to room temperature, add fresh berries (if desired) and serve with a dollop of chilled whipped cream or vanilla ice cream.

Recipe Source: Dining in Disney, Photo Source: Orlando Sentinel
Monday - Stuffed Chicken Breasts
Tuesday - McDonald's (it's my niece's birthday, so she picks)
Wednesday - Tuna Casserole
Thursday - Leftovers
Friday - Ham & Cheese Sandwiches
Saturday - Meatloaf
And with several weeks of regular meal planning under my belt, I'm officially making my first cross-out on my 30 Before Thirty list. A sad start given that I've only got 8 months to go, but "make dessert more often" will be crossed off the list soon too. Lately we've snacked on cookies and banana bread, and this week the plan is to make the following berry cobbler recipe, inspired by the delicious version I had at Disney's Artist Point a couple years ago.
3 cups all-purpose flour
1/4 tbsp. salt
2 1/2 tbsp. baking powder
1 1/8 cups granulated sugar
1/2 cup unsalted butter
2 eggs
1 cup heavy cream
2 cups blueberries or other seasonal berries
8 tbsp. brown sugar
8 tbsp. unsalted butter
Whipped cream or ice cream (topping)
Combine the flour, salt, baking powder and sugar. Then break the butter apart into small pieces and mix it in. Next, add the eggs and stir until just absorbed. Then add the heavy cream and mix just enough to incorporate (batter should be lumpy). Divide the dough into four pieces.
Now, in four 6-inch cake pans lined with parchment paper, place the pieces of dough, spread evenly along bottom of the pans. Spread the blueberries on top of each piece. Sprinkle each with 2 tablespoons brown sugar. Dot each with 1 tablespoon butter.
Bake in a preheated 350ºF oven for 15 minutes, or until an inserted toothpick comes out clean and dry and the cobblers are lightly browned. Cool to room temperature, add fresh berries (if desired) and serve with a dollop of chilled whipped cream or vanilla ice cream.

Recipe Source: Dining in Disney, Photo Source: Orlando Sentinel
Monday, February 7, 2011
This Week's Menu {Feb 7}
We managed to accomplish all but one dinner last week. The Chinese Chicken Salad was skipped since we'd had a late lunch at Elijah's birthday party on Saturday. But otherwise, a good week. Here's the goal for this week:
Monday - Chinese Chicken Salad
Tuesday - Almond Crusted Pork Chops
Wednesday - Egg Salad Sandwiches
Thursday - Leftovers
Friday - Spaghetti with Meat Sauce
Saturday - Ham with Au Gratin Potatoes

Last week's Minestrone soup went especially well, and we gorged on leftovers for the entire weekend. I tweaked the recipe I found to suit my needs. Here's what I did:
* Heat two tablespoons olive oil in soup pan over medium heat.
* Brown one chopped onion in pan for approximately 10 minutes.
* Add in two cloves of minced garlic and two heaping cups of chopped kale. Cook until kale is just wilted, approximately two minutes.
* Add one carton (48oz) of vegetable stock and two cans (14oz) of chicken broth. Also add one heaping cup of cauliflower, one heaping cup of celery, one heaping cup of frozen mixed veggies (I used peas and corn) and one can diced tomatoes.
* Bring to a boil and let simmer for 5 minutes.
* Add in desired amount of cooked pasta (I used about 4 cooked cups) and one can of rinsed cannellini beans.
* Continue simmering for about 5 minutes and serve.
P.S. Happy Birthday to the goofiest (thirty-)two year old I know. Hope it's a good one Joe!!
Monday - Chinese Chicken Salad
Tuesday - Almond Crusted Pork Chops
Wednesday - Egg Salad Sandwiches
Thursday - Leftovers
Friday - Spaghetti with Meat Sauce
Saturday - Ham with Au Gratin Potatoes

Last week's Minestrone soup went especially well, and we gorged on leftovers for the entire weekend. I tweaked the recipe I found to suit my needs. Here's what I did:
* Heat two tablespoons olive oil in soup pan over medium heat.
* Brown one chopped onion in pan for approximately 10 minutes.
* Add in two cloves of minced garlic and two heaping cups of chopped kale. Cook until kale is just wilted, approximately two minutes.
* Add one carton (48oz) of vegetable stock and two cans (14oz) of chicken broth. Also add one heaping cup of cauliflower, one heaping cup of celery, one heaping cup of frozen mixed veggies (I used peas and corn) and one can diced tomatoes.
* Bring to a boil and let simmer for 5 minutes.
* Add in desired amount of cooked pasta (I used about 4 cooked cups) and one can of rinsed cannellini beans.
* Continue simmering for about 5 minutes and serve.
P.S. Happy Birthday to the goofiest (thirty-)two year old I know. Hope it's a good one Joe!!
Monday, January 24, 2011
This Week's Menu {Jan 24}
Last week's plan went better than most weeks do. We only skipped two days - one to eat leftovers instead (no harm there) and one to take my Grandpa out for birthday dinner (you can't deny a 93 year old man Bob Evans). Knowing that we tend to skip a meal for leftovers I'm going to try to work that into the plan. That way I'll be more likely to actually achieve my goals. You know, cause that feels good.
Anyway, here's what is in store for this week:
Monday - Grecian Spaghetti
Tuesday - Unstuffed Cabbage
Wednesday - Baked Potatoes & Salad
Thursday - Leftovers
Friday - Pancakes
Saturday - Brats & Tater Tots

My grandma (and also my sister) make stuffed cabbage that is pretty much awesome! I don't have the patience, nor the cooking prowess, to make my own. Luckily I found a recipe a while back for unstuffed cabbage that is super simple. Here's the how to:
1. Chop one small cabbage and layer in the bottom of a greased 9x13 pan.
2. Brown one pound ground meat and one chopped onion. Drain fat.
3. Stir 1.5 cups uncooked rice into meat and onion mixture. Layer over cabbage.
4. Cover with approximately 30 oz of tomato soup and/or water. (You could use two smaller cans of tomato soup and one can of water, or you can use a carton of Trader Joe's tomato soup).
5. Cover and bake at 350 degrees for one hour.
Photo Credit: Family Circle
P.S. Did you notice that Droolworthy Decor and Potential Projects were recently updated? It's about time, I say.
Anyway, here's what is in store for this week:
Monday - Grecian Spaghetti
Tuesday - Unstuffed Cabbage
Wednesday - Baked Potatoes & Salad
Thursday - Leftovers
Friday - Pancakes
Saturday - Brats & Tater Tots

My grandma (and also my sister) make stuffed cabbage that is pretty much awesome! I don't have the patience, nor the cooking prowess, to make my own. Luckily I found a recipe a while back for unstuffed cabbage that is super simple. Here's the how to:
1. Chop one small cabbage and layer in the bottom of a greased 9x13 pan.
2. Brown one pound ground meat and one chopped onion. Drain fat.
3. Stir 1.5 cups uncooked rice into meat and onion mixture. Layer over cabbage.
4. Cover with approximately 30 oz of tomato soup and/or water. (You could use two smaller cans of tomato soup and one can of water, or you can use a carton of Trader Joe's tomato soup).
5. Cover and bake at 350 degrees for one hour.
Photo Credit: Family Circle
P.S. Did you notice that Droolworthy Decor and Potential Projects were recently updated? It's about time, I say.
Thursday, December 9, 2010
Candy Making
This past weekend I gathered with friends to make some candy for the holidays. It's a yearly ritual for Regina, but something I've never been able to take part in before, aside from eating the results. I had a great time!
There were about a dozen or so of us there. We had quite the assembly line going. Here's a quick how-to in case you've got a sugar craving:
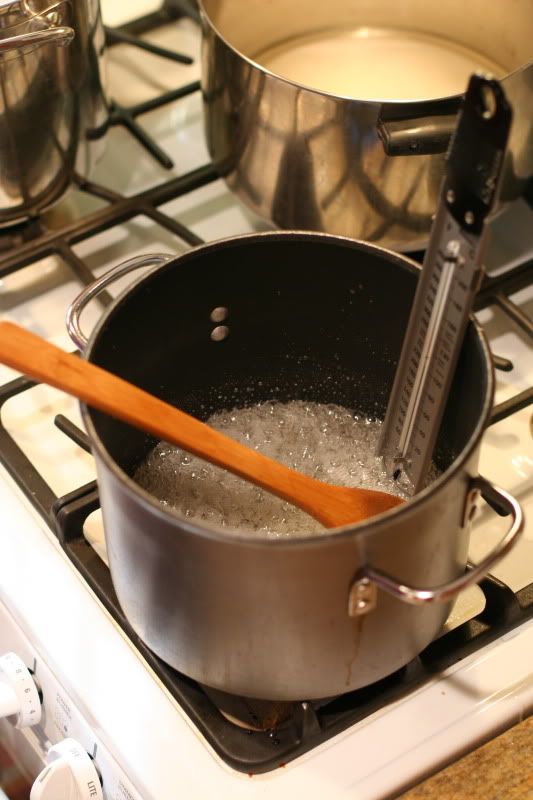
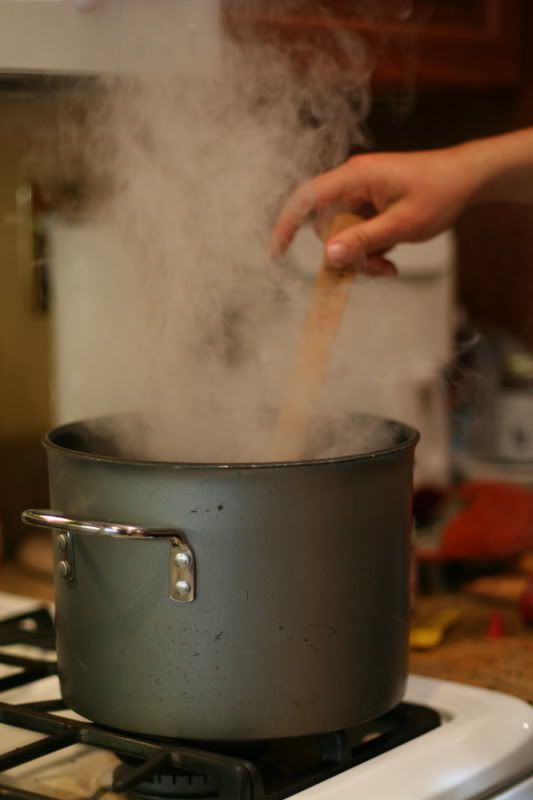
Combine together in a large pot 2 cups sugar, 1 cup water and 2/3 cup corn syrup and place on heat. Use a candy thermometer and stir until you've reach 290 degrees.
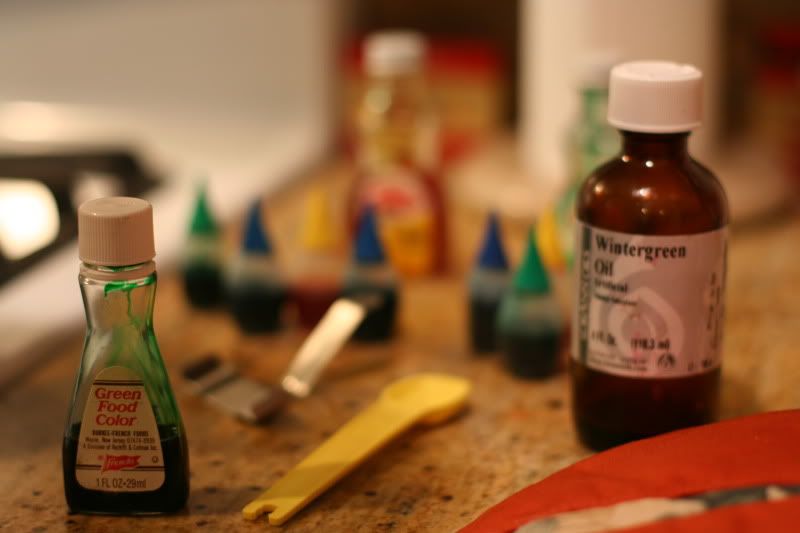
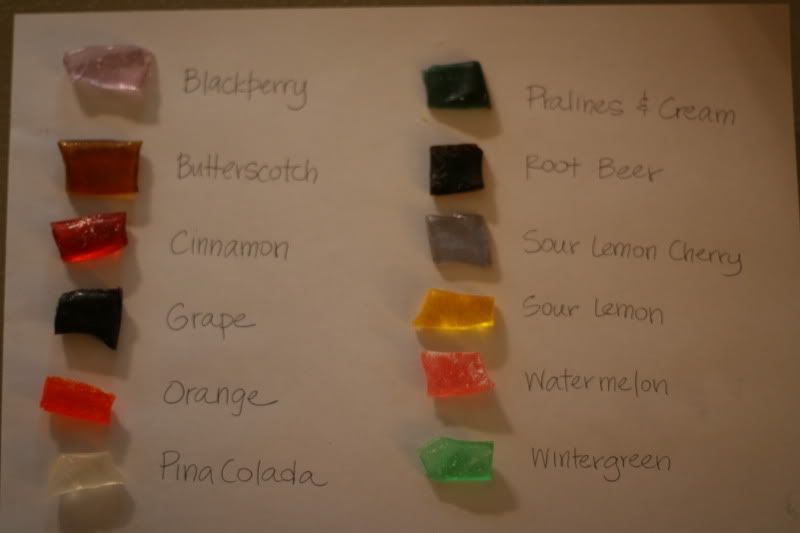
Drop in your flavor (about 2 tablespoons) and a couple drops of food coloring. Then carefully pour the hot substance onto lightly buttered plates. Use butter knives to test to see when the edges have begun to set and slide onto a nonstick surface.
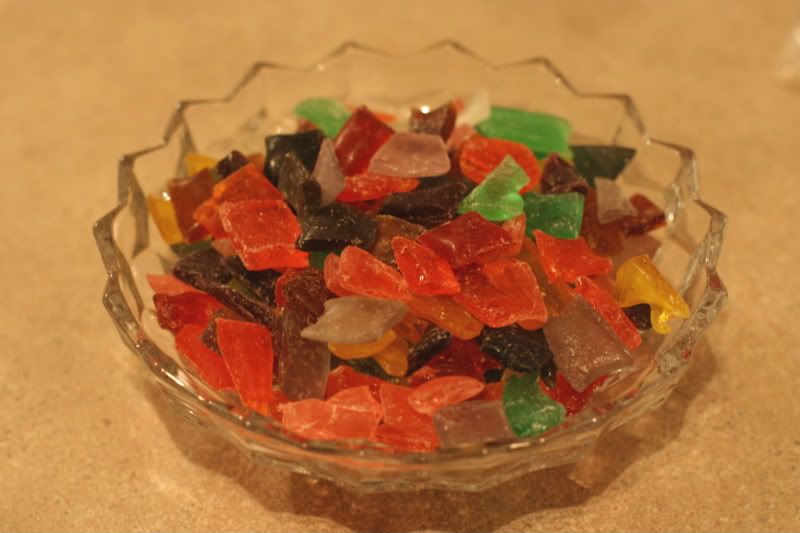
Use kitchen shears to cut the still hot candy into bitesize pieces. Dust with powdered sugar to keep them from sticking together. Then repeat. Repeat. Repeat. About 20 times over.
But make sure to stop in the middle to admire your friend's baby, born while the rest of us were slaving away in a hot kitchen!

There were about a dozen or so of us there. We had quite the assembly line going. Here's a quick how-to in case you've got a sugar craving:
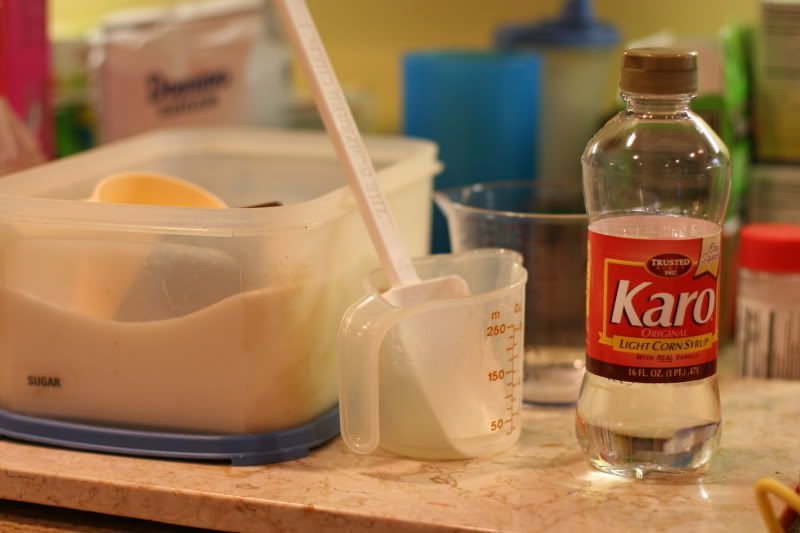 |  |
Combine together in a large pot 2 cups sugar, 1 cup water and 2/3 cup corn syrup and place on heat. Use a candy thermometer and stir until you've reach 290 degrees.
 | 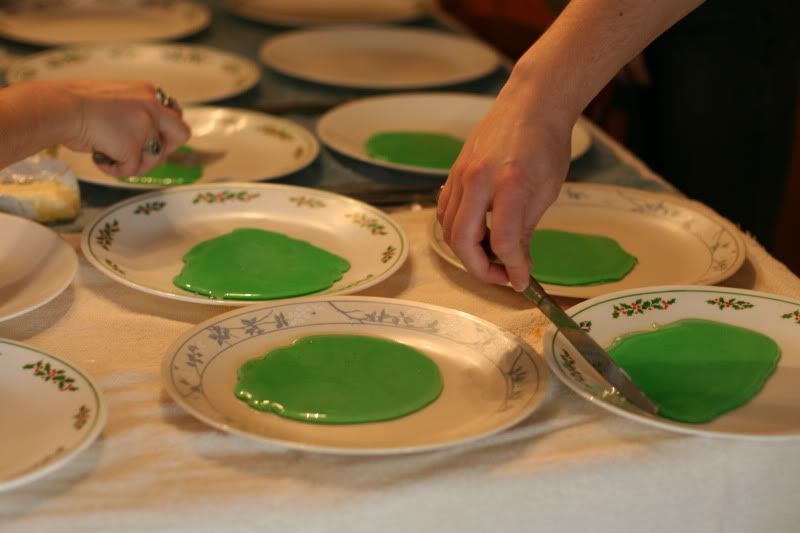 |
Drop in your flavor (about 2 tablespoons) and a couple drops of food coloring. Then carefully pour the hot substance onto lightly buttered plates. Use butter knives to test to see when the edges have begun to set and slide onto a nonstick surface.
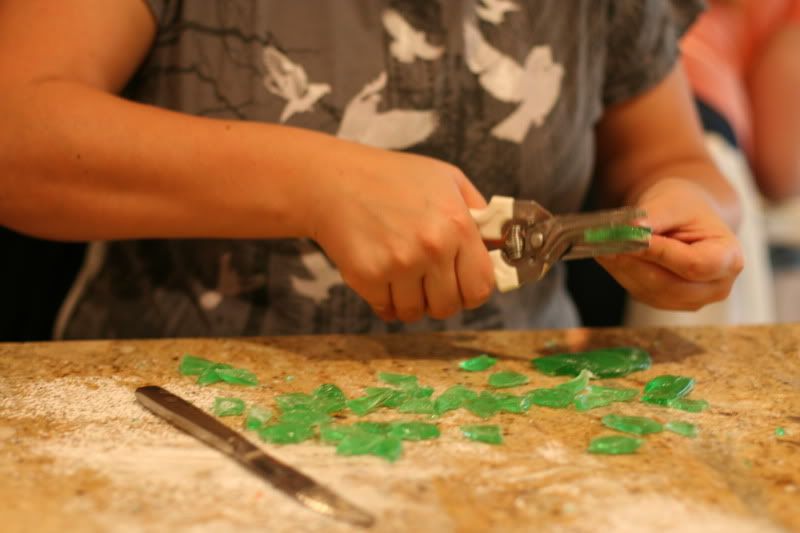 |  |
Use kitchen shears to cut the still hot candy into bitesize pieces. Dust with powdered sugar to keep them from sticking together. Then repeat. Repeat. Repeat. About 20 times over.
 |  |
But make sure to stop in the middle to admire your friend's baby, born while the rest of us were slaving away in a hot kitchen!
Sunday, September 13, 2009
Roasted Edamame Salad
In the interest of keeping my recipes in a place I can find them, as opposed to falling into the abyss that is my kitchen, I'll periodically be posting them here. Shouldn't take long as I can probably count them all using just fingers.
This first one is a new one that I want to try, courtesy of Alton...
Ingredients:
12 ounces fresh/frozen shelled edamame (about 2 cups)
1/2 cup fresh corn kernels (about 2 ears of corn)
1/4 cup finely diced scallion
1 clove garlic, minced
1 tablespoon olive oil
3/4 teaspoon kosher salt
1/4 teaspoon freshly ground black pepper
1 cup chopped fresh tomato
1/4 cup chopped fresh basil leaves
1 tablespoon red wine vinegar
Directions:
Preheat the over to 400 degrees.
Place the edamame, corn, scallion, garlic, olive oil, salt and pepper into 9x13 pan and stir to combine.
Roast on middle rack for 10-15 minutes or until edamame begins to brown.
Place in refrigerator until completely cool, approximately 30 minutes.
Add tomato, basil and vinegar and toss to combine.
Serve chilled or at room temperature.

Labels:
Recipes
Subscribe to:
Posts (Atom)
